
Since we plan on transplanting most of the veggies we are going to grow this year, I am particularly invested in any and all tips for growing successful transplants.
We will be learning from the author of Sustainable Market Farming, Pam Dawling who draws on her expertise from years of market farming and generously shares her experience so that we newbie’s can learn and prosper.
Transplanting offers several advantages over direct seeding but is not best for every situation or every crop.
Advantages of Transplanting Over Direct Seeding
- Controlled germination temperatures can provide a higher seed germination percentage and allow earlier sowing than would work outdoors in spring.
- Easier to keep an eye on seedlings in flats.
- Protects the seedlings from pests and ensures optimal watering because they are close together and in a protected environment.
- Better control of growing temperatures leads to faster-growing plants.
- Uniformity and larger size of plants result in earlier harvests and higher total yields.
- Growing the young plants elsewhere allows you to use the outdoor space for another crop earlier in the season.
Ideal Crops for Transplanting
Some crops are easy to transplant because they quickly grow new roots to replace those damaged in the transplanting and do not lose water at too fast a rate.
Very Successful Crops:
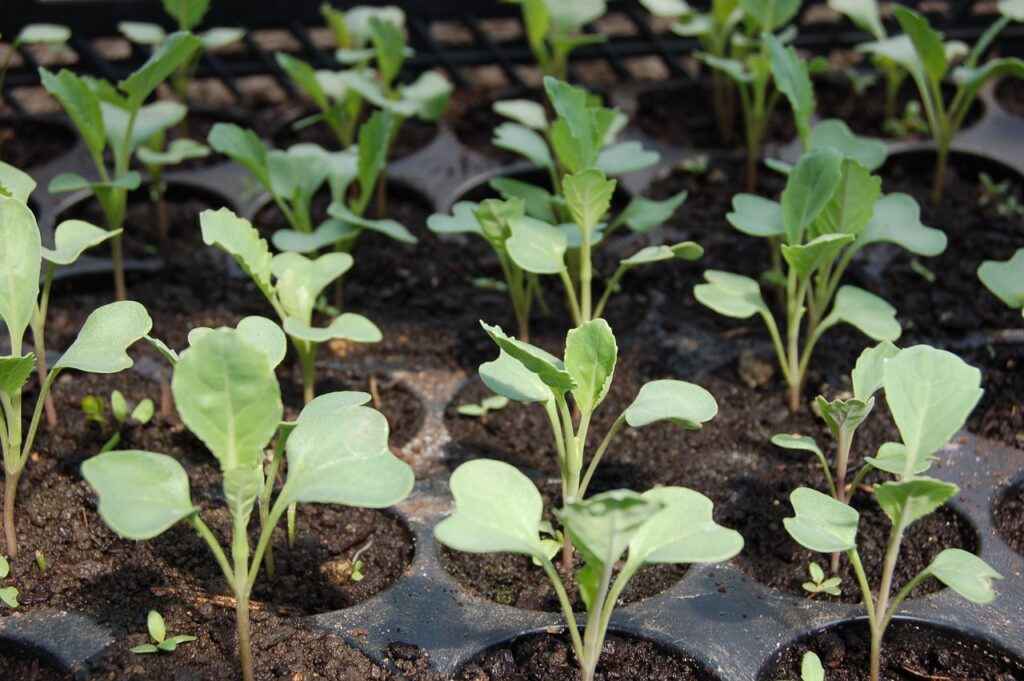
- Brassicas
- Lettuce
- Tomatoes
- Beets
Moderately Successful Crops:
- Eggplant
- Pepper
- Onion
- Okra
- Sweet corn
Tricky to transplant, but still worthwhile:
- Curburtis
Not Worth Transplanting:
- Most root crops
- Most legumes
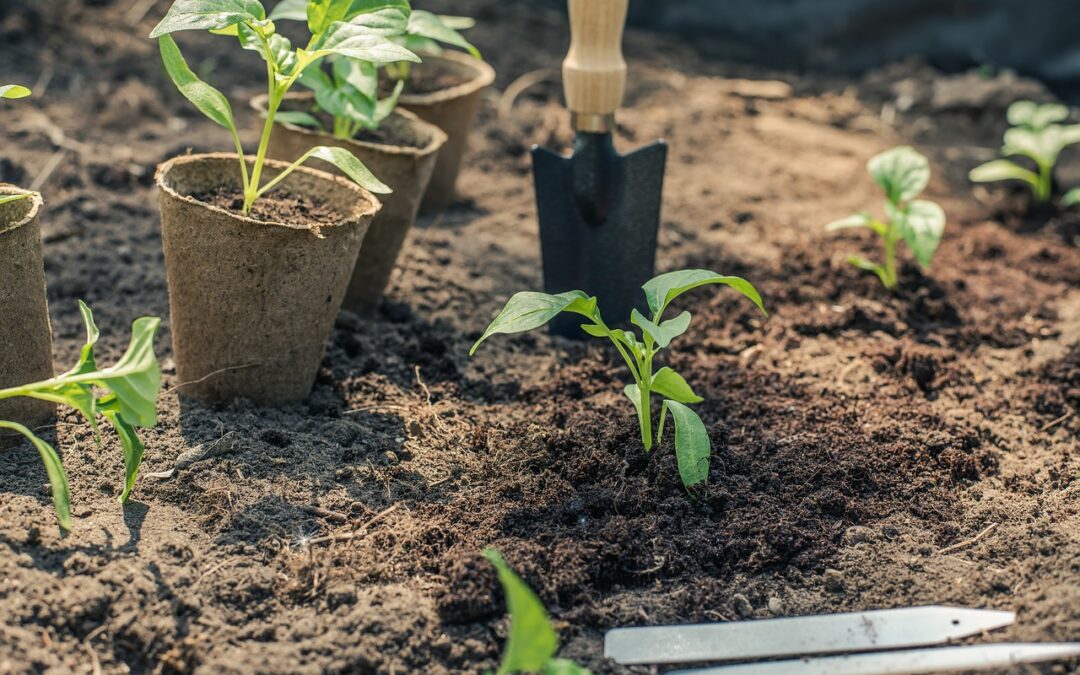
Bare Root Transplants
Bare root transplants are plants dug up from a nursery bed outdoors or in a hoophouse and planted out directly.
This is the easiest option if weather conditions are suitable.
Bare root transplants need little extra care as they are less prone to drying out than seedlings in flats, however, they suffer more transplant shock.
On Pam’s farm, onion seedlings work very well, and spinach and kale sowed in the hoophouse in January and planted outdoors in March are a lot less work than using flats.
In contrast, they have found that early lettuce transplanted from the hoophouse is not as sturdy as those in flats.
Using Flats, Plug Trays, and Soil Blocks For Transplanting
If you use a transplanter machine, you will need to use plug flats of a size suitable for the machine.
Transplanting by hand is a little more flexible, as you can vary the size of your plugs.
Once your transplants get to a certain size, you will have to pot up to a larger container. Pam gives most of their transplants 4” depth of potting compost, as she has found this grows big, healthy plants.
On the flip side, plastic containers are much lighter and easier to move, and sowing directly in cells reduces the transplant shock to a single occasion, resulting in earlier crops.
On Pam’s farm, they use a variety of sizes of flats, pots, and trays. The cell size they choose for which crops are based on a balance between what they know works and what they can find on hand.
They use a deep nine-pack to start early tomatoes and peppers and pot them up into 3.5” pots.
These posts are destined for the hoophouse, so they do not have to get very big before they can be transplanted there.
For outdoor peppers, they sometimes germinate in the round 38 cell sheets and grow to transplant size.
Winstrip and Speedling trays are designed to ‘air prune’ the roots, provided the flats are suspended on rails or mesh or slatted benches to allow air under them.
Early cucumbers work well in Winstrip 50-cell flats.
Winstrip 50 also works well for Swiss chard, okra, and watermelon if transplanting is not delayed.
For early squash and second tomatoes, Pam uses 72-cell Speedlings.
200-cell Speedlings are used for alliums, early sweet corn, and spinach.
For second squash, and early melons, they use soil blocks.
Just to note, soil blocks are time-consuming to make so they only use them for cucurbits, which do better with as little root disturbance as possible.
We plan on exclusively using soil blocks, so I will report on our experience in a future article.
Soil block making involves also involves purchasing a block maker and peat moss or coir (coconut fibre), since some fibrous material is needed to hold the blocks together.
Pam uses 1 part of coir to 1.5 parts of screened homemade compost and enough water to make a slumpy, not soupy, mix.
It’s important to dunk the block maker into a bucket of water between fillings, to wash off the old remnants and enable the new blocks to slip out when ejected.
Just about everything else Pam grows in spring (brassicas, lettuce, celery, eggplant, paste tomatoes) gets started in 3” wood flats and pricked into 4” flats when the first true leaf is 0.25-0.5” long.
Once they grow to the desired transplanting size, the flats are then hardened off.
Growing Strong Starts
There are two schools of thought when it comes to sterilizing seed flats. Some growers sterilize, some do not. Pam is in the not category.
Instead, they screen compost in late summer and store it in their greenhouse over the winter with lettuces growing in it.
By spring, it is full of worms and their castings. It is also unfrozen with a nice texture for the intended use of growing seedlings. With no additions, they grow sturdy plants.
If you decide to mix your own compost, make sure you have a good pH and enough, but not too much, phosphorous.
A good reference on the best nutrient levels for various crops is found on the Florida research website. There is also a section about Seedling Diseases and gives info on hot water seed treatments that can prevent the spread of seed born diseases.
Hardening Off
Most plants stared in the greenhouse need to be hardened off before planting out in the field.
This is done by moving the plants to a transitional zone, such as a cold frame or a shade house, which has conditions midway between outdoors and the protection of the greenhouse.
The plants then experience lower temperatures with more fluctuation, breezes, and direct sunlight.
Less frequent watering can also be part of the hardening off but is not recommended for brassicas or lettuce.
A too sudden change of any type should be avoided, as the stress may cause permanent damage to your plants.
Plants respond to hardening off by reducing the size and number of their stomata (the holes in the leaf surface where air and water go in and out) and by developing a thicker leaf.
The slower growth causes the plants to accumulate carbohydrates, which are then available for regrowth after transplanting.
If you use a cold frame, move the plants out to the frame when weather conditions are moderate and use lids or row covers to moderate the microclimate for the first several days.
You can also move the plants outside in the daytime and bring them back in for the night. Using a cart makes this easier.
Transplant Quality
The transplanting stage is a good opportunity to practice some selection – plant the best you have.
Avoid plants with spots, lesions, or pests.
Also, avoid over-lush plants that may lose too much water once in the field due to wind damage.
Criteria for acceptable transplants:
- Stems should be thick, not spindly – don’t think the tallest is best.
- Roots should be unbroken, actively growing, and a healthy white colour.
- The root portion should be at least as big as the vegetative portion of the plant.
- Leaves should be plentiful and have a strong green colour.
- Transplants with too few leaves can take ten extra days to reach harvest.
Ensure that plants have adequate nutrition or they will likely be slower to mature and have lower yields.
Transplant Age and Size
There is a lot of flexibility about when a start can be transplanted.
Here are a few rules of thumb that Pam uses:
- If planting is delayed because of weather, previous crops occupy the space, or any other reason, then examine the roots and pot the plants up to larger containers if you need to.
- If disaster strikes after transplanting (freeze, flood, groundhogs, etc) and you have more plants, replant as soon as you can.
- For important crops, try to pot up leftover transplants into larger containers to hold in reserve for a couple of weeks after transplanting, just in case.
Planting Depth
Deeper planting seems to reduce wind stress on young plants.
On the other hand, the soil is cooler deeper down, and may not be good for warm-weather plants.
One way to deal with this, for example, sweet potatoes and tomatoes, is to plant in a shallow horizontal or diagonal trench.
Much of the stem can be buried in the soil, increasing the growth of extra roots and protecting the plant against wind damage, while keeping the roots in the warmer soil near the surface.
With brassicas, bury the stem up to the first true leaves, deeper than the plant was in the flat.
In general, planting to the depth of the first true leaves increases the yields of many crops.

Suitable Conditions for Transplanting
The ideal conditions for transplanting are mild, windless afternoons and evenings just before light steady rain.
Transplanting late in the day gives the plant the chance to recover during the cooler night hours when the rate of evapotranspiration is slower.
Shadecloth or row cover can be used to reduce the drying effects of the wind and sun.
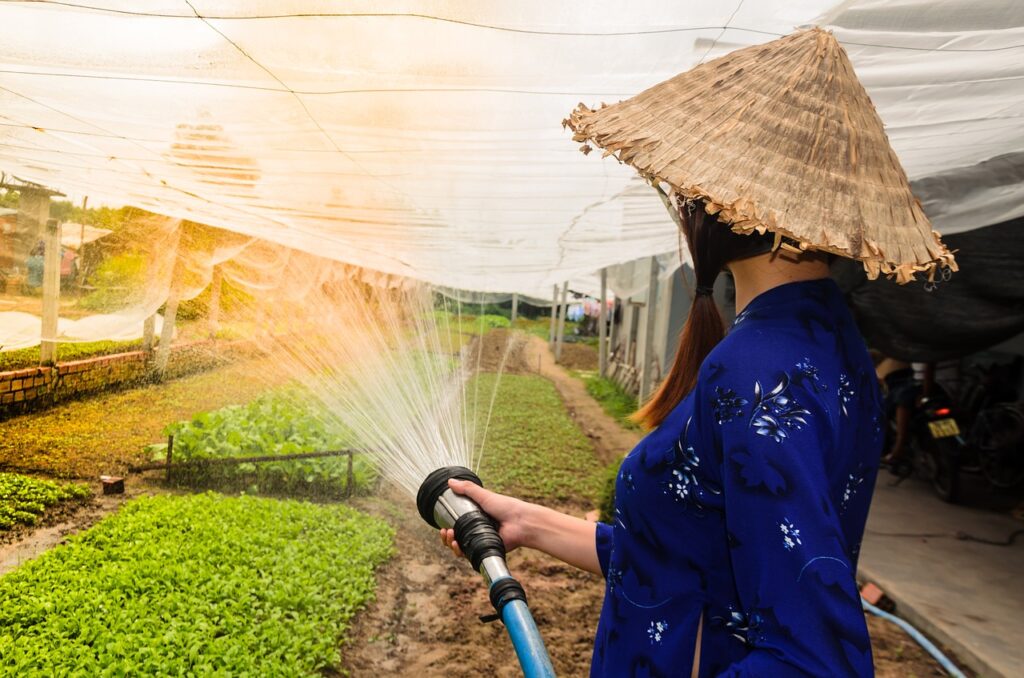
Damp soil is important before, during, and after transplanting.
If necessary, in very dry weather, water the soil ahead of planting with overhead sprinklers or drip irrigation on the planting row.
After transplanting, remember to keep the plants alive by watering frequently.
Use a thermometer to help you decide when to plant out tender plants.
Once the soil temp has reached 65 degrees Fahrenheit (19 degrees Celsius), tomatoes and sweet potatoes can be planted.
70 degrees Fahrenheit (21 degrees Celsius) is better for peppers and melons.
As the climate changes, using a thermometer is smarter than using a calendar to determine when you should plant out.
Transplant Spacing
There are many possible ways to mark the appropriate spacing for transplants.
Transplanting machines have automatic spacing, based on wheels with devices to punch holes in plastic mulch or soil at various spacings for different crops.
Eliot Coleman uses a mesh roller attached to wood blocks for marking transplant spots.
Johnny’s Row Marker rake is what Pam uses.
The Earthway seeder without seeds, using the row market to keep rows parallel.
For a low-tech way, you can use a collection of sticks marked at various lengths.
Whichever method you choose, make sure it is as accurate as possible. No eyeballing it! Even the most experienced planters can make mistakes with measuring.
It’s possible to lose yield by having fewer plants in the row than you intended, so please measure!
Planting Techniques
For transplanting by hand, Pam uses regular trowels.
Some people like to hold them vertically, scoop facing toward the user, and pull forward to create the hole.
Others prefer to push away from themselves.
For planting from Speedling flats, butter knives are used.
Insert the knife into the ground and wiggle it from side to side, opening a wedge-shaped hole the perfect match of the Speedling plug.
Then slide the knife down the tapering side of a cell and twist upward, while grasping the plant near the base with the other hand. This results in a plug sitting neatly on the knife.
Next, slide it into the wedge-shaped hole and firm it up.
With other kinds of plugs, squeezing the base of the cell works well to get the plug out. Play around and find the technique that works best for you.
Aftercare
Water your plants an hour before transplanting, then well after planting.
You should also water them the next day, on days three, seven, and ten after planting, then weekly after that.
When setting out a large number of plants, you should water every 20-30 minutes, regardless of the number of plants set out. If you are fast at planting, you may let an hour go by before watering.
Generally, it is better to get a lot of plants in the ground quickly than to water more often so the plants are not having their roots exposed to the air for long.
Shadecloth draped over recently transplanted crops can help them recover sooner from the shock in hot sunny weather.
This improves the airflow as well as reducing the abrasion or pressure damage done to the plants.
Row covers are useful in reducing wind damage, and in moderating cold weather.
Pam uses row cover in summer when transplanting brassicas to reduce the transpiration losses and also to keep harlequin bugs off their young plants.
Some people like to water newly transplanted crops with various ‘transplant teas’. These may be compost teas or a solution of seaweed extract or fish emulsion.
These solutions provide a boost of easily assimilated nutrients to feed the plant until the root hairs recover from transplanting damage.
I hope these tips brought to you by Pam Dawling of Sustainable Market Farming, help you with your transplanting this coming season.
There’s a lot to unpack here, I know, but take things one step at a time and try not to get overwhelmed with any one task.
Just try to take things one crop and one day at a time, and do your best! That’s what we plan to do.
Do you have any transplanting tips you would like to share? Please leave any and all advice in the comments below.
Stay Local,
Kathy & Jon
your friendly neighbourhood growers
0 Comments