
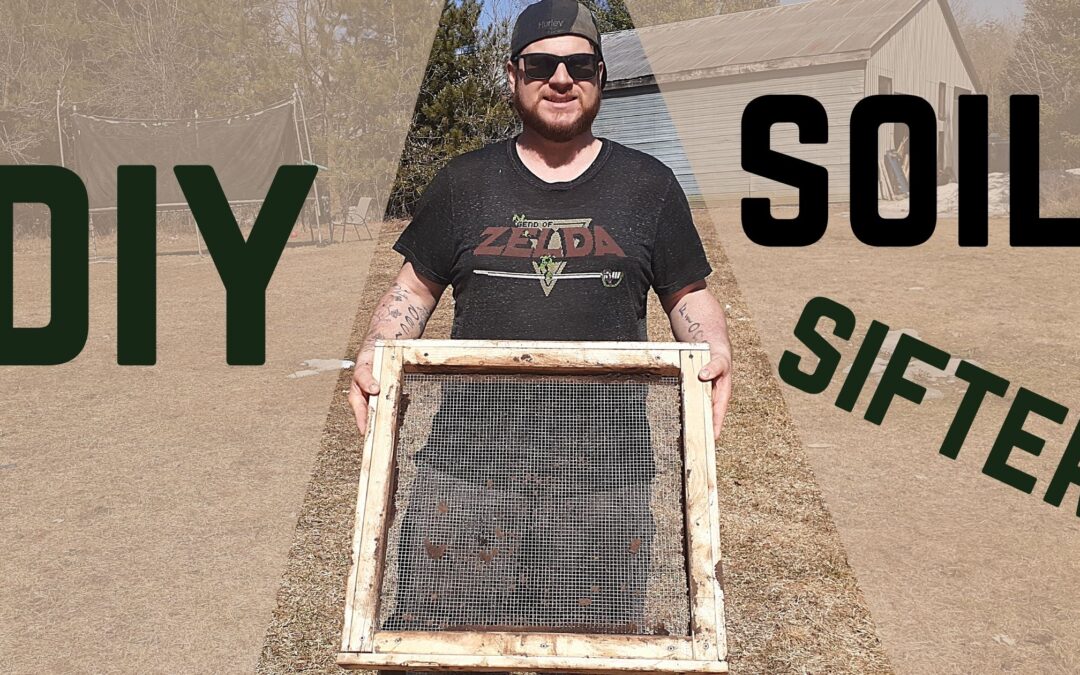
We built a soil sifter! More accurately, Jon built a soil sifter!
We will be outlining all the steps Jon took to DIY our soil sifter using mostly just materials we had on hand.
We did need to purchase an inexpensive screen, unfortunately, we did not have one of those kicking around anywhere.
In case you didn’t know, this is our first-year of market farming and we are using soil blocks this year to start our seedlings.
In order to increase our chances of success, we are making our own blocking mix.
Now, we have all the ingredients to make the blocking mix, but first, we need to sift the components to ensure proper consistency when making soil blocks, as the soil is typically watered to a paste, then formed into soil blocks.
So, we built a soil sifter, and this is how we did it.
Materials and Tools Used:
- 1/4″ hardware cloth (screen)
- 2″x2″ boards
- wood screws
- stapler
- staples
- saw
- tape measure
- 1/2″ wood (optional)
Soil Sifter Instructions
Step 1: Measure all 4 sides of your container of choice.
We chose a plastic tote since we had some empty ones around.
Step 2: Measure your 2″ x 2″ boards according to your container measurements.
For reference, our measurements were 21.5″ x 23″.
Step 3: Cut your 2″ x 2″ boards accordingly.
We cut two 21.5″ boards and two 23″ boards.

Step 4: Screw your frame together.
The longer pieces go on top and the smaller pieces go on the bottom.

Step 5: Set your frame on the box to make sure it fits OK.
Adjust if necessary.

Step 6: Measure the sides of your frame because you will need to cut four more pieces to put on top of the screen after it is stapled to your frame (steps 13 and 14).
Step 7: Cut 2″ x 2”s based on your measurements in step 6.

Step 8: Cut screen to fit on the frame so you can staple to the top of one side of your frame and the bottom of the other.
*Be careful when cutting as the screen is sharp! Wearing gloves is recommended.

Step 9: Trim down the sides a couple of inches in order to get the screen to fit under the 2″ x 2″ so you can staple the bottom.
Do this on both sides of the frame.

Step 10: Once the screen is on, it’s time to staple it to the wood.
Staple two ends, flip it over, and staple the other two ends.

Step 11: Hammer down your staples if necessary.

Step 12: Fit the pieces of 2″ x 2″s you cut in step 7 on top of the stapled screen.

Step 13: Screw down the wood.
")
Step 14: Trim off any excess screen.

Step 15: If your screen is poking through your frame and you would like to have a smooth finish, you can add a 1/2″ wood border around the edges to cover up any rough pieces of screen or wood.
We used some scrap wood we had laying around.

Well, there you have it, a step-by-step guide on how to build a soil sifter.
You can check out our video right under this sentence if you want to watch Jon build our soil sifter.
I tried to make the directions as clear as I could, but if you need clarification, please let us know in the comments.
Stay Local,
Jon & Kathy
your friendly neighbourhood growers