
Now, peanuts may not be the very first crop you think about growing when starting a market farm.
But once you find out that you can grow your very own peanuts, it’s hard not to think of how cool it would be to grow them yourself and sell locally grown peanuts at the farmer’s market.
At our market, there is currently no one selling peanuts. I mean that could be because of our climate (Ontario, Canada), but that doesn’t mean it’s not worth looking into, right?
Well, today’s the day! We will be learning from expert market farmer Pam Dawling (Sustainable Market Farming) the tricks of the trade when it comes to growing and selling peanuts.
Peanuts are an interesting and rewarding crop to grow on a small scale.
Anyone concerned with local food security will appreciate peanuts as a source of locally grown protein (tell me about it! I can’t stop thinking about making my very own homegrown ewwy, goooey peanut butter!)
About Peanuts
This is a description of the peanut plant from Clemson Extension Service:
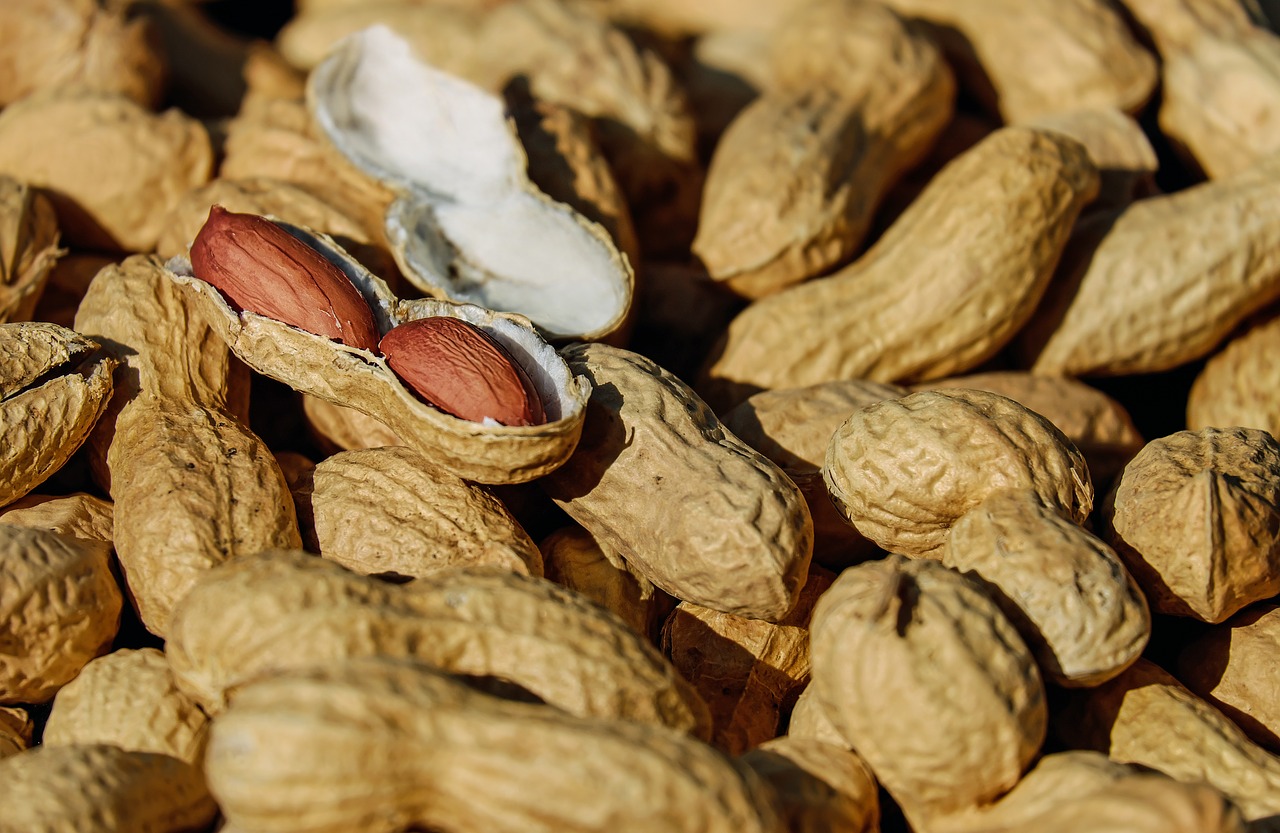
The peanut is a tropical plant that originated in South America.
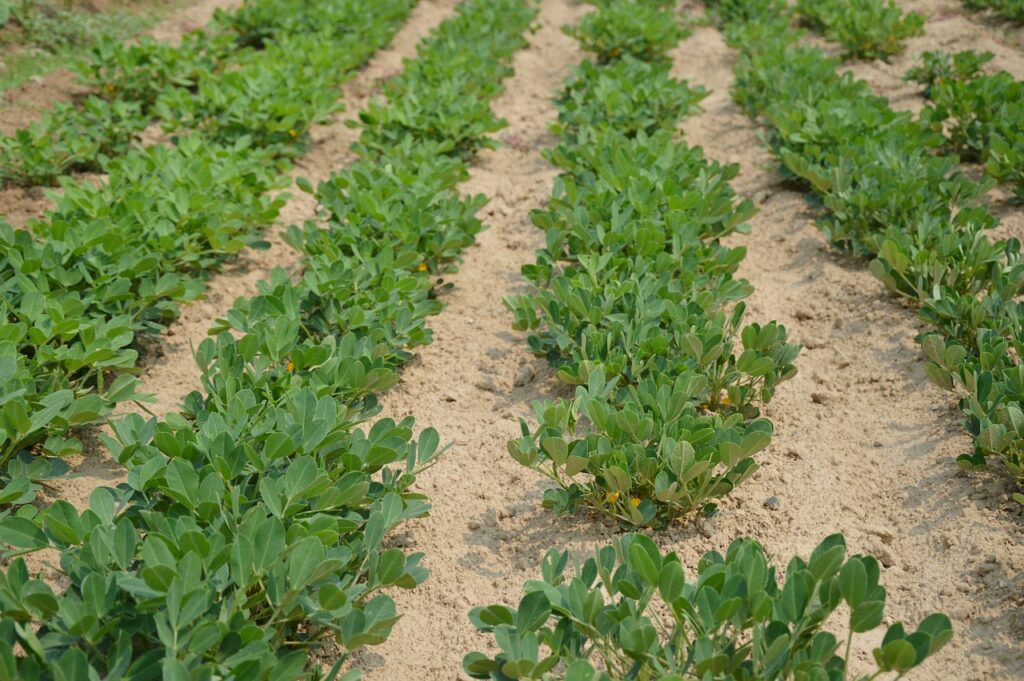
Peanuts are self-pollinating plants that look like a yellow-flowered, low sweet pea bush growing slightly higher than 1 foot with a 3-foot spread.
After the flowers wither, a flower stalk called a peg elongates and pushes the ovary or pistil of the flower into the soil to a depth of 1-2″.
The pistil then develops into the pod containing peanuts.
Crop Requirements
Peanuts need a frost-free period of at least 110 days.
In Virginia (where Pam is located) 2520-2770 growing degree days above a base of 57°F (14°C) are needed for Virginia-type peanuts.
You will have to do a bit of research to see if there are any varieties of peanuts that are suitable for your own climate. Google is a good place to start!
Peanuts like warm or hot conditions, with adequate, but not excessive water.
If you can provide these conditions, as well as relatively light, loose, free-draining soil, and attention to controlling weeds, then please give peanuts a try on your market farm.
Buy some seed peanuts. Pam buys hers from Southern Exposure Seed Exchange.
Twenty-eigh grams will plant about 25 feet.
Prepare a bed or row ahead of time.
You can warm the soil by covering it with rowcover or plastic for three to seven days before planting.
The pH should be 5-6.
If calcium levels are at all low, add gypsum. The start of blooming is the latest time you can effectively do this.
Calcium deficiency results in unfilled pods and low yields.
Pam plants her peanuts in permanent raised beds which helps provide looser soil.
Peanut Varieties
If you have a relatively short growing season, Pam recommends starting with the 110-day variety Tenessee Red Valencia.
It’s easy to grow, very productive, sweet kernels, 2-5 per shell.
Another 110-day variety is the unusual Carolina Black, an heirloom with a black skin.
It’s sweet-tasting and slightly larger than the Spanish kinds.
Virginia Jumbo needs 120 days, produces large rich flavoured kernels, 2 per shell, and prefers loose soil.
Whopper variety also needs 120 days, and its claim to fame is obvious (BIG kernels!).
Carwile’s Virginia is a 130-day heirloom variety with superior flavour and good drought resistance.
Diseases
Peanuts are prone to the same diseases as beans, with bacterial wilt being one to especially watch out for.
Sowing
Sow around the last frost date.
The soil temp should be 65°F (18°C) at noon, at a 4″ depth, for three consecutive days.
In Pam’s climate, that is late April.
The beginning of June is the latest she would sow.
Shell the nuts, don’t split the kernels into halves and sow 2″ deep, 12″ apart, in rows 30-36″ apart.
Inoculating the seeds with Rhizobium bacteria can produce enough nitrogen in root nodules to sustain the crop, as with other legumes.
Active nodules are pink or red inside.
The seedlings may be slow to emerge, so preemptive weeding may be needed.
If you have not interplanted, you could try pre-emergence flame weeding.
The seedlings look somewhat like peas or clover.
Because they grow slow for the first 40 days, they will not thrive if you lose them to weeds.
Interplanting Lettuce and Peanuts
Relay planting is a version of undersowing or interplanting, where the second crop is planted while the first is still growing.
Pam sows a row of peanuts in the middle of a lettuce bed and gets great results.
She sows the peanuts in late April, early May (depending on the average last frost date) into the middle of the bed with lettuce transplanted around the same time.
The ideal is to plant regular-size lettuce transplants (not overgrown ones!) on the same day you sow the peanuts, or up to two weeks later.
Pam uses romaine and small Bibb for these plantings, not the spreading leaf lettuces.
The purpose of interplanting is because when peanuts were planted in an empty bed, the slowly emerging crop got lost in weeds and the unusual seedlings were hard to distinguish from weeds.
Since they frequently hoe their lettuce beds, and as long as they remember peanuts are growing and don’t hoe them off, the peanuts do quite well with the lettuce.
In hot springs, they have a shade cloth that covers the whole bed of lettuce, and the peanuts come up very nicely.
In cooler springs, they use rowcover.
The lettuce grows faster in cooler, wetter springs than peanuts do, so if necessary, they harvest the inner rows of lettuce a bit earlier than they might have expected before the peanuts get swamped.
All the lettuces are harvested before the peanuts can grow large, leaving the peanut canopy to fill out the space.
Cultivation
Once the seedlings are 12″ tall, you can hill them up, as you would potatoes, to increase yields.
Although, this is not a compulsory step. Pam does not hill her peanuts and she still gets plenty of yield.
You may have to experiment to see if your crop would benefit from hilling or not.
Watering
There are two periods when adequate watering is vital.
The first is at planting, to ensure germination.
The second is from 50 days after planting when pegs start to enter the soil, until 2 weeks before harvest.
This is the time when the pods are filling.
Stop watering 10-14 days before harvest, to help peanuts dry for storage.
Harvesting and Drying Peanuts
You can wait for a light frost to kill the tops, or you can simply harvest when enough peanuts are mature.
If the fall is wet, you might be advised to pull or dig the plants early, when the seed is almost ripe, and dry them indoors.
This will minimize losses from rotting.
In dry, light soil, you can just pull the plant, and the peanuts will come up attached to the stems.
Then you can bunch and hang them upside down in an airy barn where mice are not a problem.
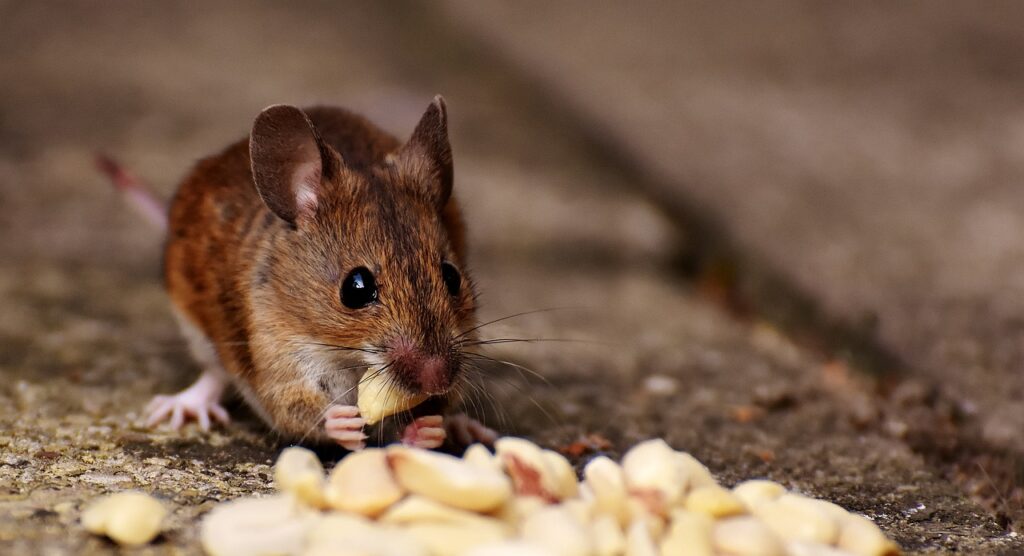
Mice really love peanuts and will run off with them and stash them very quickly.
If the soil was dry and loose enough for you to pull the plant, the nuts will likely be relatively clean, so you can dry (and cure) them on the vine. It takes up to three weeks.
In heavier soils, dig the plants up lightly, no need to go deep.
You can pull the nuts off the stems into a bucket and collect the loose ones from the soil.
If needed, wash the peanuts, spreading the loose ones out on trays to dry.
Mold is an enemy of efforts to dry peanuts.
Moldy peanuts contain toxic aflatoxin, so get them dried quickly.
Set up fans indoors, or dry peanuts outdoors in the sun. Three to seven days is a likely amount of time.
One method of drying peanuts outdoors is to spread the peanuts on clean compost-screening trays on wheelbarrows.
Just wheel the barrow from place to place to catch the sun, and under cover if rain is a threat.
Boiled Peanuts
Immediately after harvest, you can eat all or some of your bounty, without drying or curing.
According to Pam, these are a special treat!
Here’s how she cooks them:
- Fill a large pot 2/3 full of water
- Add two handfuls of salt and enough peanuts (in their shells) to fill the pot but still have enough room to move
- Cook for 5 whole hours
- Strain and Serve
- Enjoy!
Curing and Storing
If vine-drying, you can also cure the peanuts on the vine.
Alternatively, you can pick the good nuts off the plants once they have dried and cure them in the sun for a few days.
Peanuts will cure to a storable state in 2-3 weeks indoors at ambient temperatures.
To find out when peanuts have finished curing, taste some and see.
If they still have the watery crunch of water chestnuts, they are not ready. Once they taste good, they are cured.
For long-term storage, a sealed container in a freezer works well.
They need to be kept very dry.
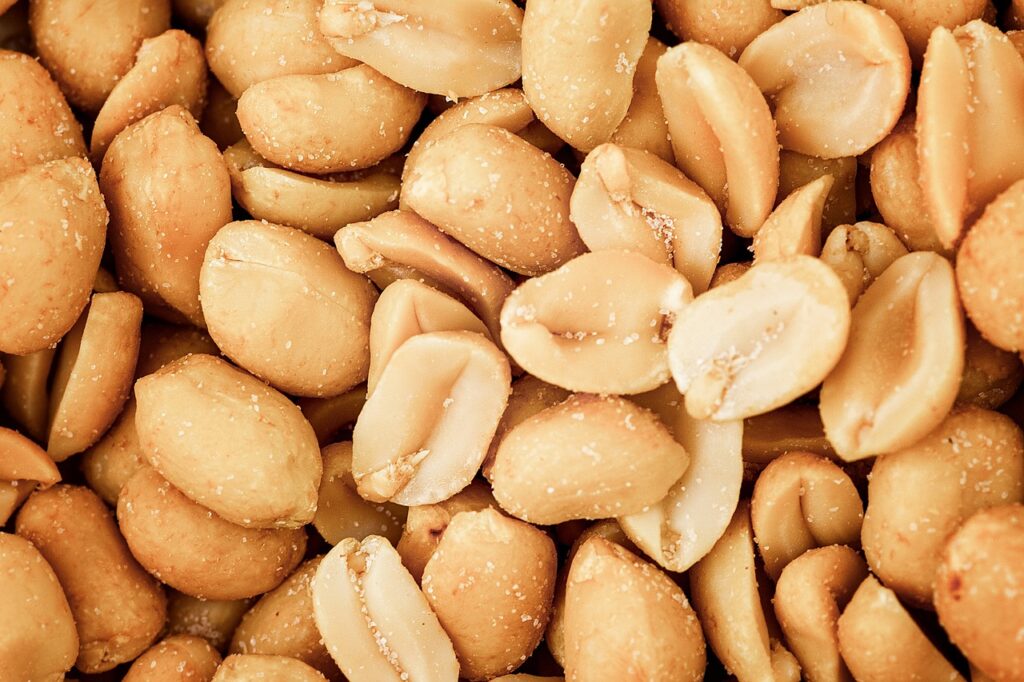
Roasting Peanuts
To roast peanuts, spread them shelled or unshelled in a single layer and cook them at 350°F (175°C) for 20-25 minutes in the shell, or 15-20 minutes shelled. Enjoy!
Seed Saving
After your first year, you can save your own seed and grow as much as you care to.
Seed saving on a small-scale couldn’t be easier, according to Pam.
Peanuts are self-pollinating but are visited by various bees, so cross-pollinating can occur.
Therefore, it’s best to grow only one variety.
Seed quality is easier to maintain in unshelled peanuts, so store them this way until plaint time.
After drying and curing, set aside sufficient quantity for next year’s seed, in a very mouse-proof place.
You can select for size and number per shell at the storage stage.
To select for flavour, save at least twice as much as you need.
At planting time, open the shell, eat one kernel, then decide whether or not to plant or eat the rest in that shell.
To select for disease resistance or per plant yield, you will need to ake the assessment at harvest time.
Bottom Line
Wow! After doing this research, I really, really, really, want to try and grow peanuts on our market farm. I definitely see some Valencia’s in our future!
Fresh roasted, or even unroasted peanuts would be a big hit at the farmers market, I am sure of that!
If they are not cured in time for your farmers market customers, CSA customers would surely appreciate the uniqueness of peanuts arriving in their box.
And hey, if you don’t have enough for your customers, you can always enjoy them as a delicious snack yourself!
The fact that it is so easy to save seed is also a bonus, so you can plant the seeds that work best in your garden, and have awesome peanut crops every year!
Do you grow peanuts in an unexpected climate? Let us know about your experience in the comments below.
Stay Local,
Kathy & Jon
your friendly neighbourhood growers
0 Comments