This year, we are trying our hand at making soil blocks for starting our seedlings. We are brand new market farmers, beginners, just like you!
The two main reasons we decided to use soil blocks are because we can decrease our use of plastics, as there are no plastic trays involved; and they are economical.
Quite honestly, cost is a major factor as we are just starting out and are working with a shoestring budget.
Since we are not experts, we turned to the guidance of Eliot Coleman in The New Organic Grower for his soil blocking method.
We have already made the soil sifter, trays, and have put together the various components of the soil blocking mix Eliot recommends using.
In this tutorial, we will be outlining the process we used for making soil blocks that are actually growing plants as I type this very article!
Let’s get started!
Making Soil Blocks
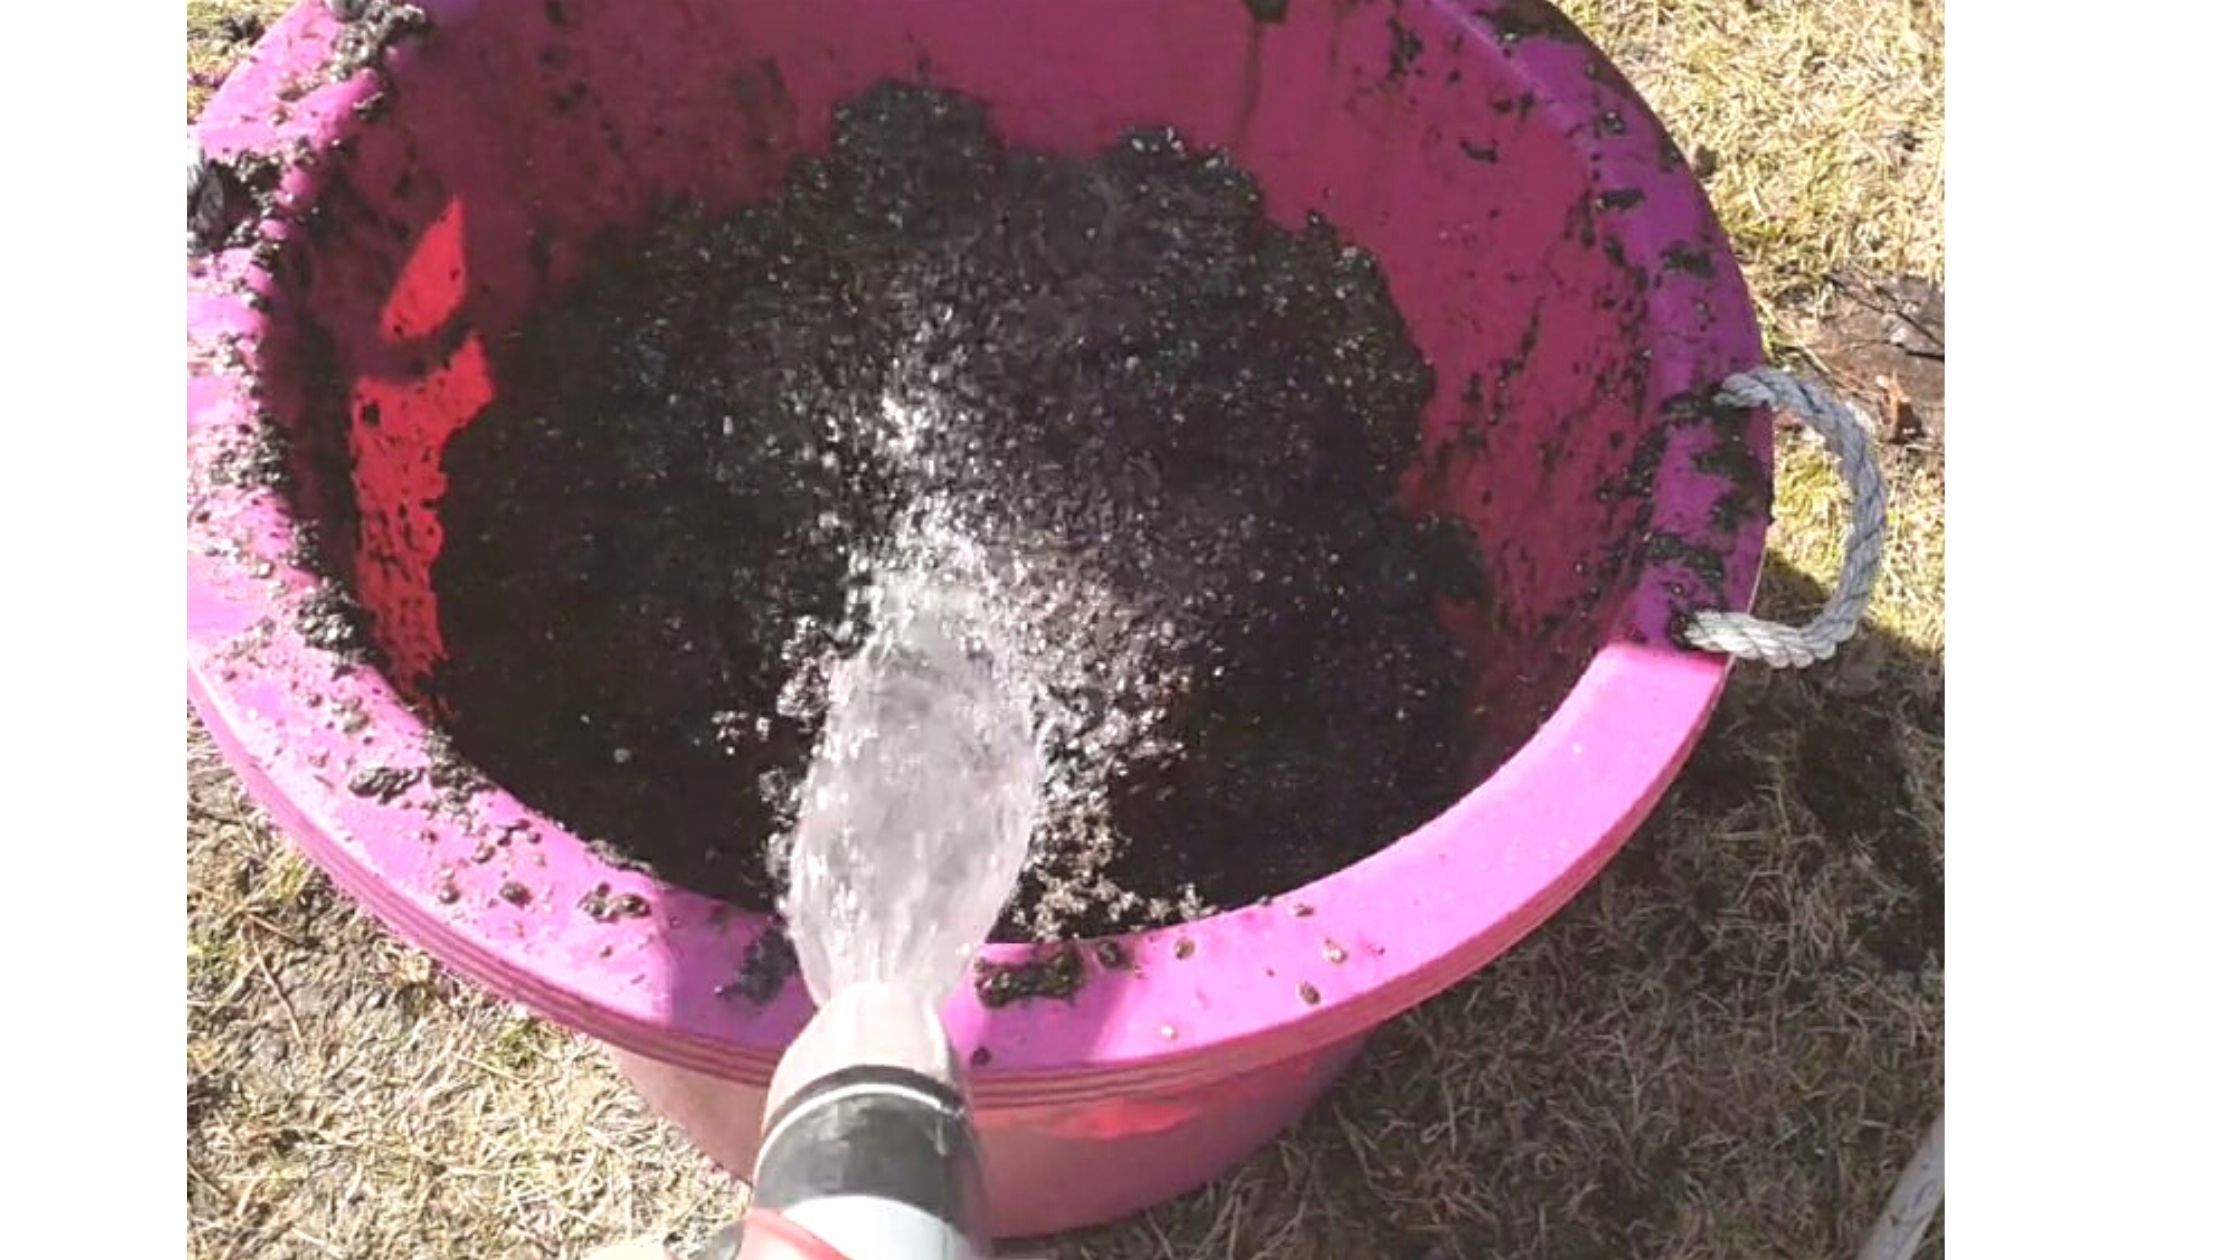
Step 1: Water must be added to wet your soil blocking mix to blocking consistency.
The amount of water varies on the initial moisture content of the ingredients.
On average, one part water to every three parts mix will achieve the correct consistency.
Make sure to use a mix that is wet enough. It will be much wetter than potting mix used for pots or flats and takes some getting used to.
We did not measure the water we used to wet the blocking mix, we just sprayed it with a hose until we had a wet mixture that still held together when we held it in our hands and made a fist.

Step 2: Get your trays ready for action!
We made our own soil block trays out of plywood and 2” x 2”s.
We made a table outside using a couple of saw horses and a big sheet of plywood. I recommend soil blocking outdoors as it is kind of a messy process.

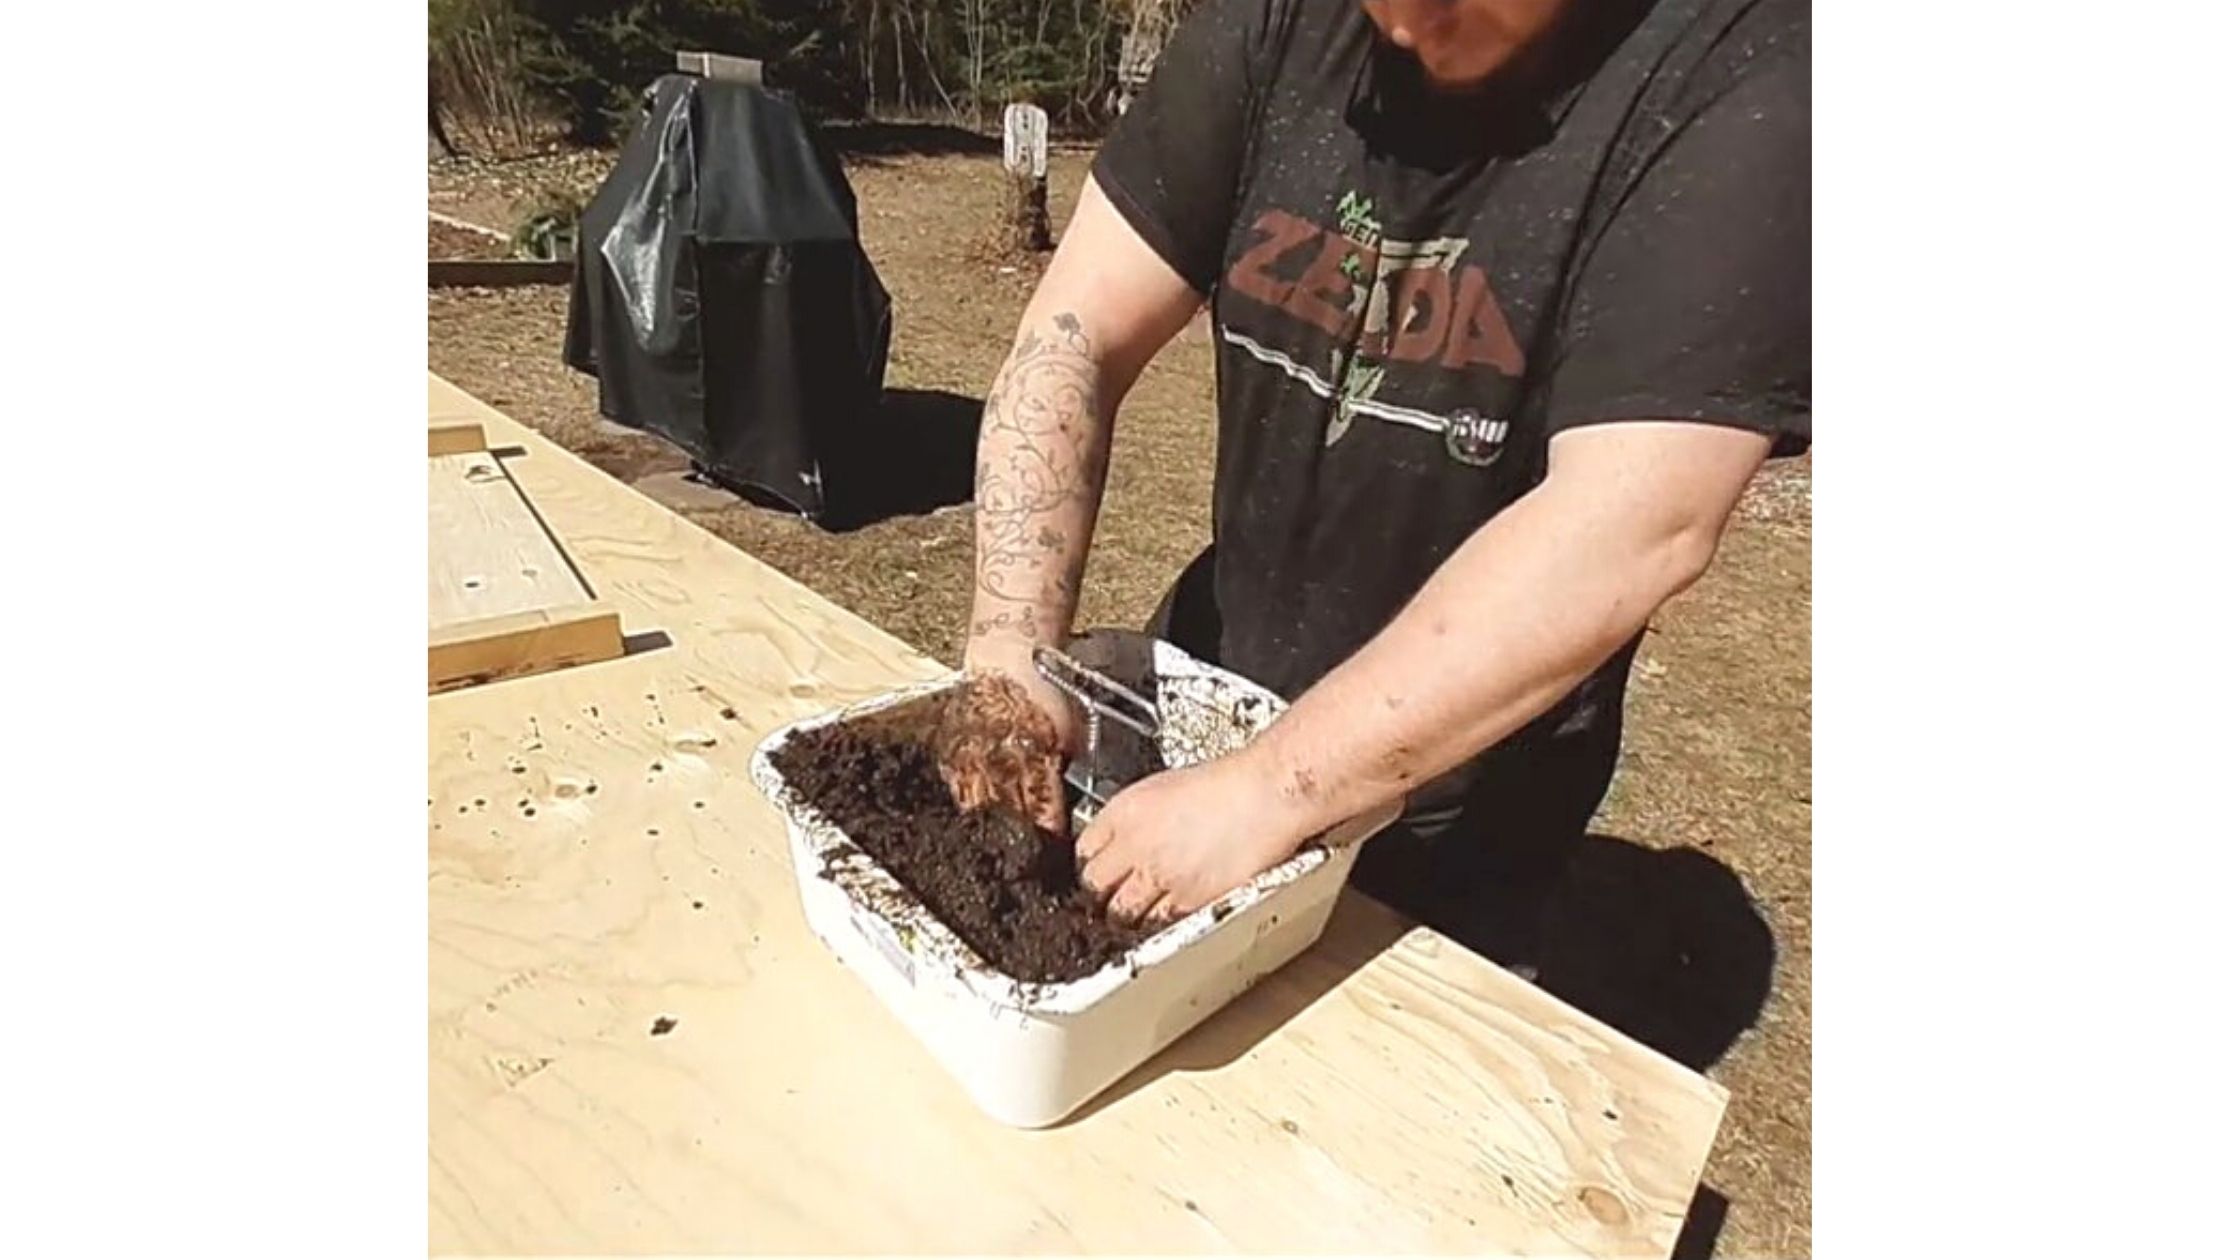
Step 3: Spread out your wet mix on a hard surface at a depth thicker than the blocks to be made.
Don’t make it too thick, though, or else the mix will not stay in your blocker, as we found out!
We spread out our soil blocking mix in a dish tub that we purchased from the dollar store. We found it was a bit small but still did the job.

Step 4: Fill the soil blocker by pressing it into the mix with a quick push and a twisting motion to settle the material.

Step 5: Lift the blocker, scrape off any excess mix against the edge of your tub or board.
If your soil blocker is not filled all the way to the bottom, we found that you can just jam some in with your hand to make it full.

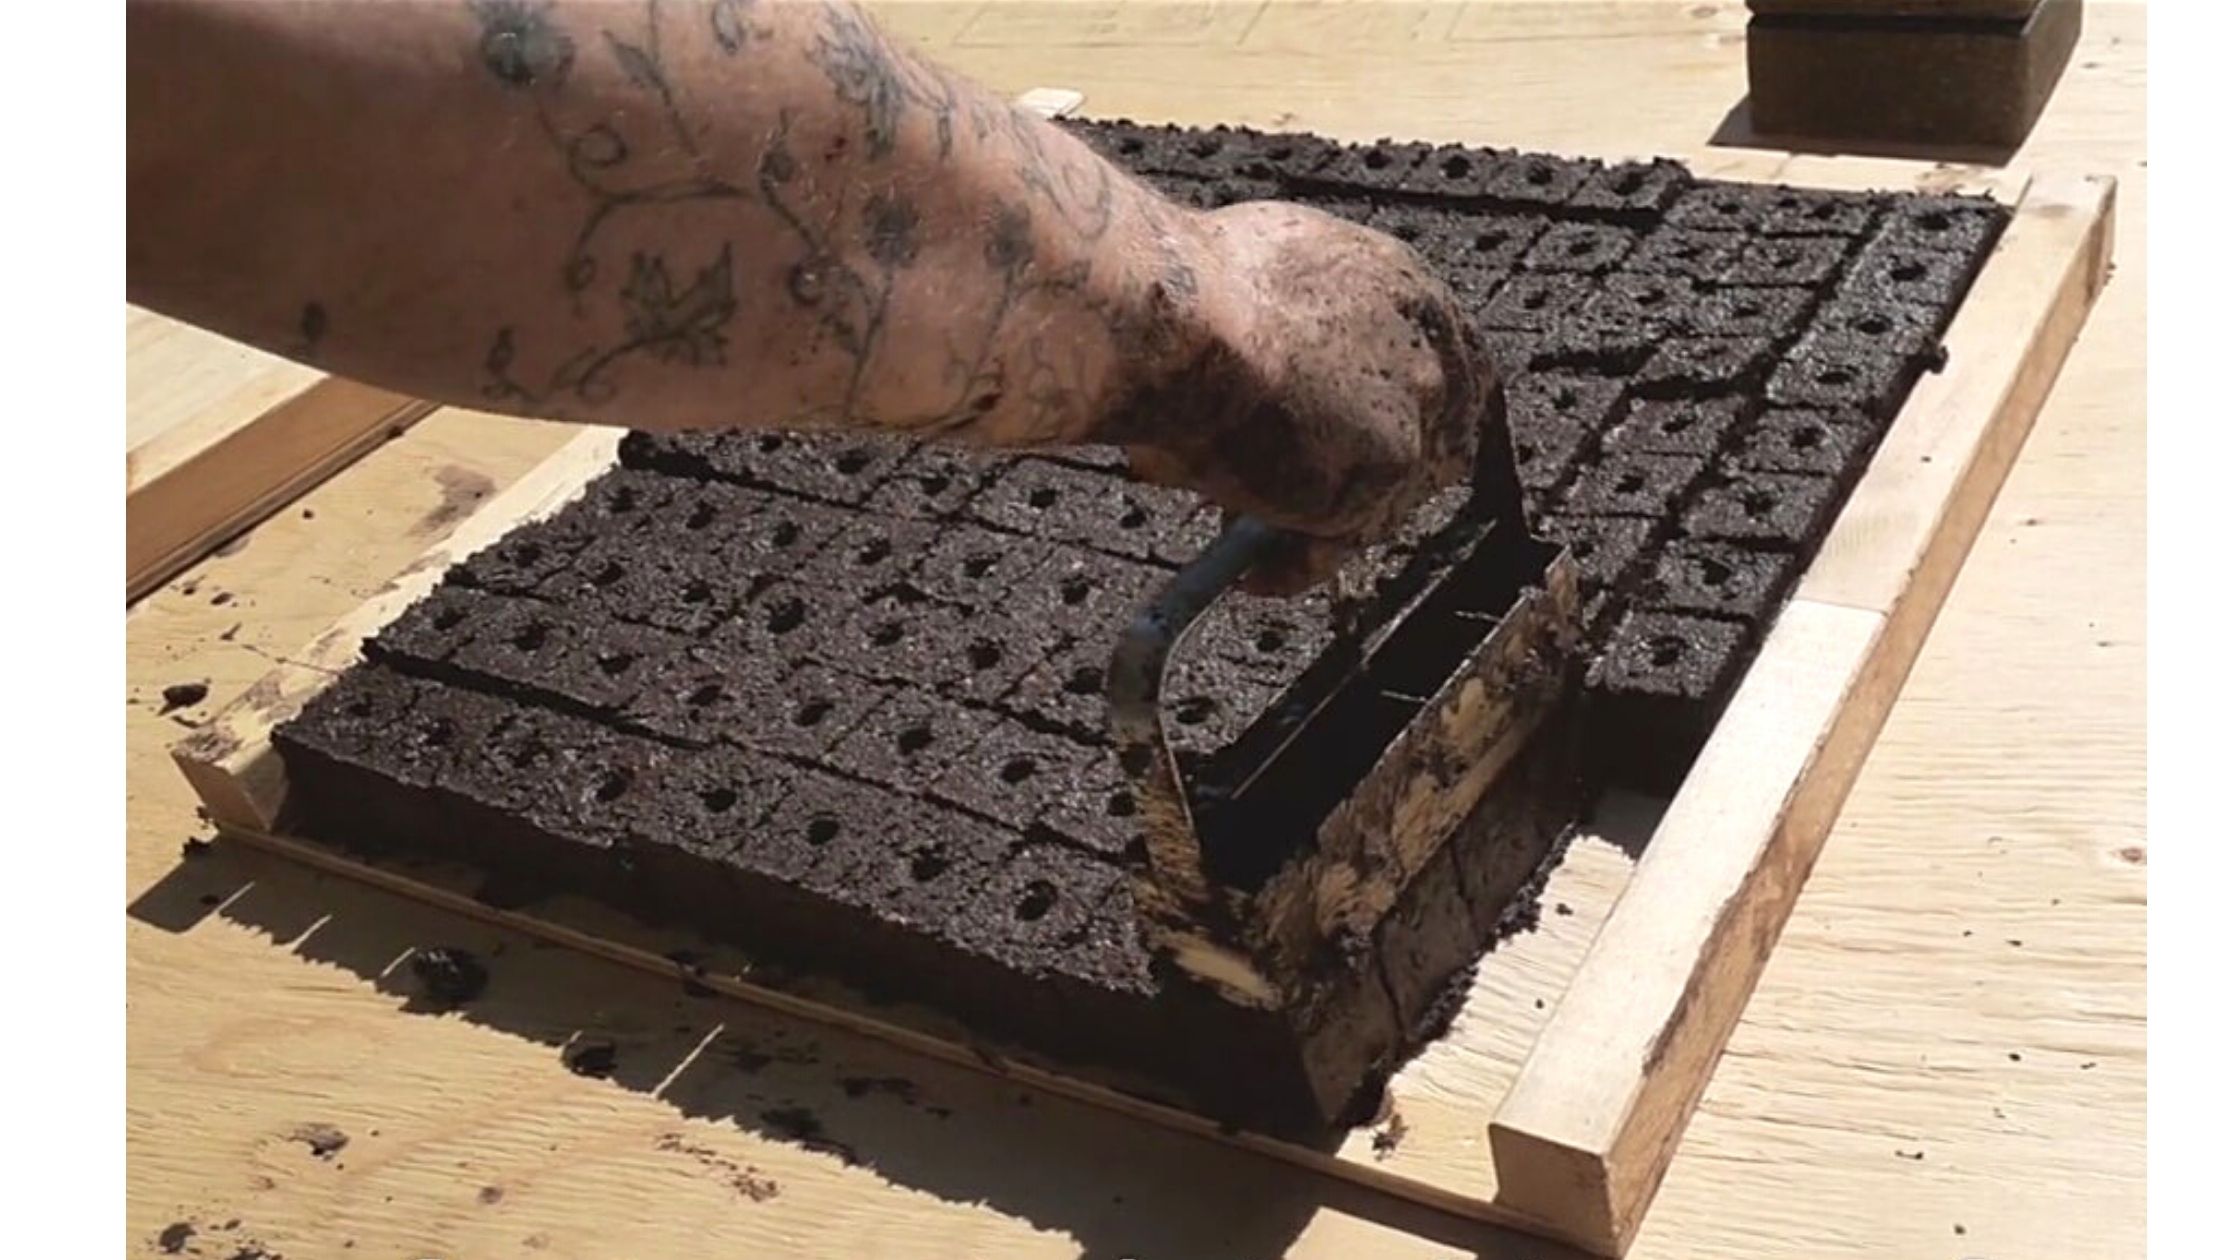
Step 6: Place the blocker on your tray.

Step 7: Eject the blocks by pressing on the spring-loaded handle and raising the form in a smooth, even motion.
Don’t get discouraged if you find this step difficult. I found it was kind of like walking and texting – hard to do both at the same time.
It took a little bit of brainpower to keep the steps straight in my head. However, once I did it a few times and got the hang of it, I was quicker and more confident in my abilities.
Step 8: After each use, dip the soil blocker off in water to rinse it off.
When you have completed all of your soil blocks like a champ, let your rinsed off soil blockers dry off so they are ready for next time.

In next week’s article, I will be describing how we seeded our soil blocks. In the mean time, you can watch us have some fun (and maybe struggle a bit) making soil blocks in the video below.
Here is the truth, and if you watch the video above, you will see that I struggled at first at making soil blocks. I didn’t really get it and took some time to become somewhat OK at it.
You will also see our 12-year-old son pick up this skill rather quickly and was able to make pretty decent soil blocks right out the gate.
Why I mentioned this is because I do not want you to get discouraged if you are not a natural at making soil blocks. Just practice. That’s the only way to become good at something and develop your skills so that eventually it will come naturally.
In fact, we are starting our second round of making soil blocks this weekend, and you can bet that I am going to get down and dirty and make even more so that I can become proficient at this new skill I am acquiring.
Have you tried making soil blocks? Let us know about your experience (or lack thereof) in the comments below.
Stay Local,
Kathy & Jon
Your Friendly Neighbourhood Growers

